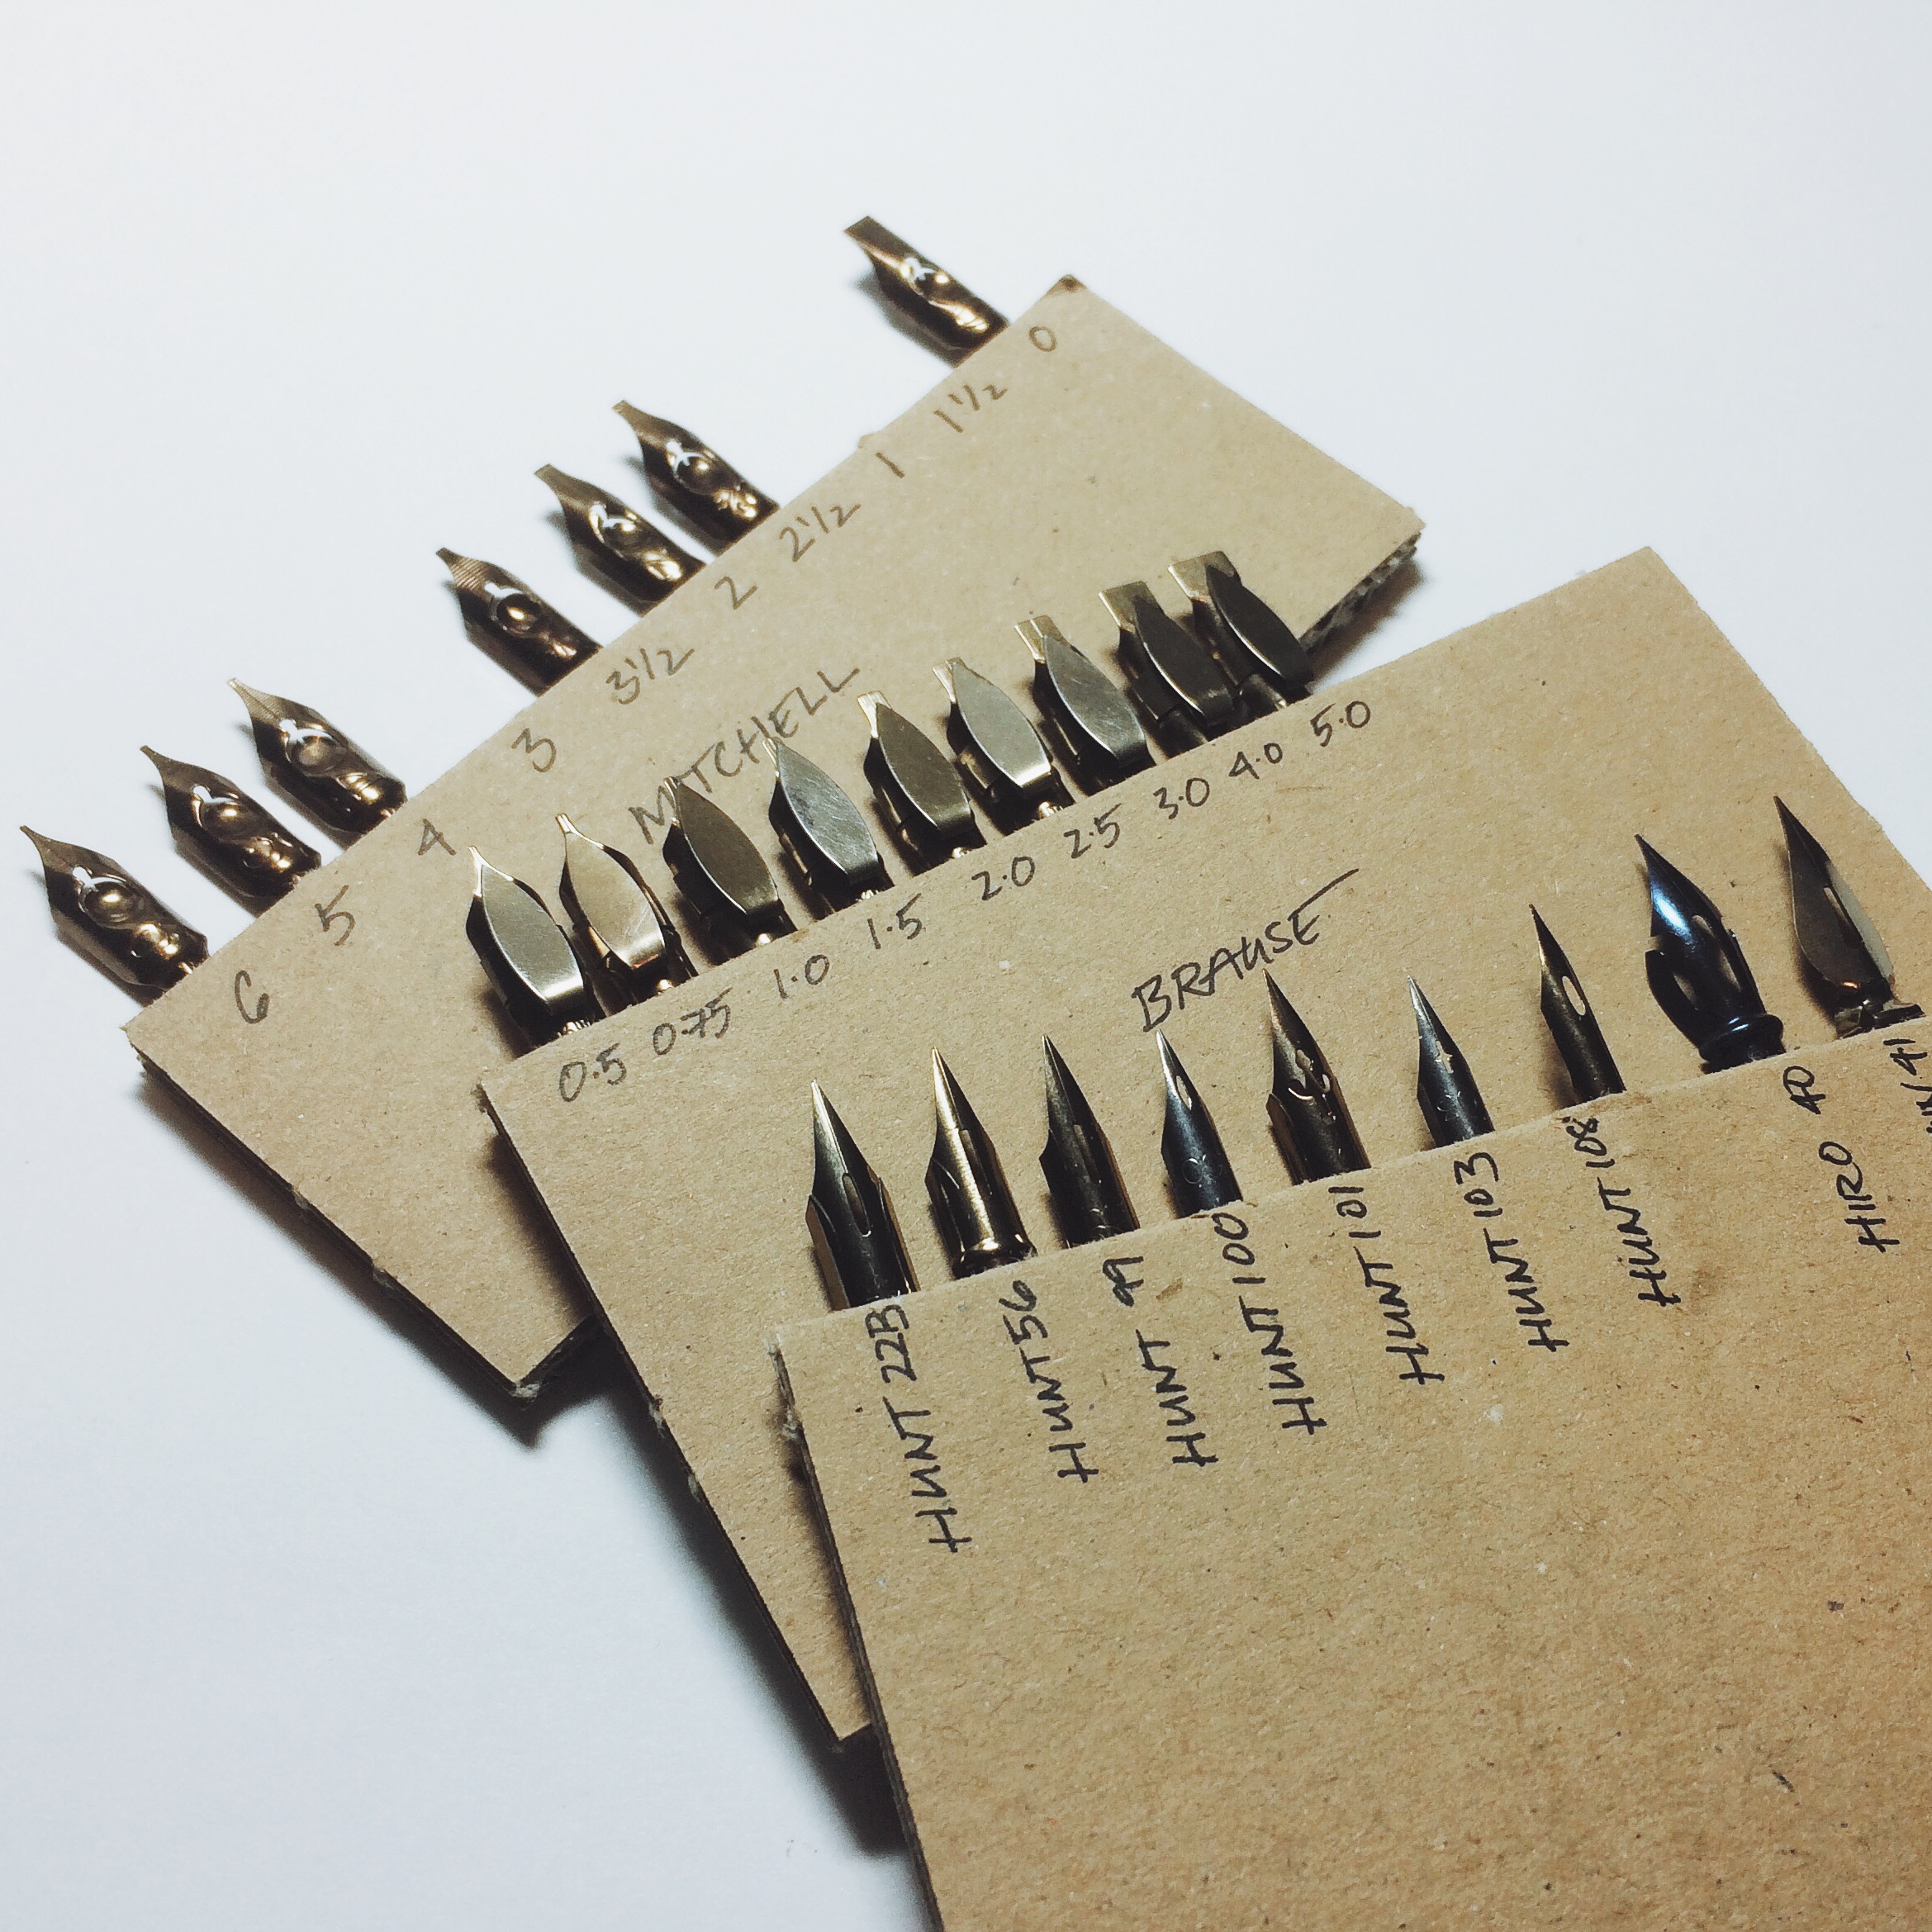
DIY Organization: Making a Nib Organizer With Cardboard Scraps!
Published: March, 2015 | Last updated: January, 2020
DIY Nib Organization with cardboard scraps!
During a recent office move, I purchased a few pieces of IKEA furniture (including the Alex drawers which are great for sheets of paper!), leaving me with a mountain of cardboard scraps. It was a rather fortuitous discovery when I realized that these every day pieces of corrugated cardboard were perfect (and I mean, perfect) for holding—and more importantly, organizing—my calligraphy nibs.
After my little discovery I searched Google and Pinterest to see how others have used cardboard in the same way. Surprisingly I didn't find much, but I found an awesome calligraphy nib book on Anne Elser's blog, and decided to make one myself, with a few customizations.
Up until now my nib organizing system consisted of a pile of paper envelopes and mini plastic bags with marker scribblings denoting the contents of each pack. Searching for a nib was tedious, and it meant that I so rarely experimented with other nibs, and I'd often purchased ones I already had. Fast forward to today and I can see exactly what I've got in my arsenal and can swap things out quickly and easily!
The best part is that its super cheap (free, even!), easily customizable and incredibly functional. Keep it in your drawer at home, or toss it into a bag for workshops and conferences when you're not sure exactly which nibs you need with you.
Step-by-Step
Since it's pretty straight forward to make, I've just listed a few tips below as a guideline for your own nib book, but since its so highly customizable, I recommend figuring out how you can make this work best for you.
Organize your nibs first. It's up to you what method you use, but I sorted each “page” of the nib book by type (broad or pointed) then by manufacturer, arranged in order of size.
Get a scrap piece of the same cardboard you're using and slide in a sample page of nibs. The tightness of the corrugation differs from type to type so you want to figure out the width you need to accommodate the number you need.
Use an X-acto knife or other sharp blade to cut panels of corrugated cardboard that are all the same width you've decided you need (mine are 4 inches wide), keeping the waves of the corrugation along the top and bottom of each panel.
I staggered the height of each page by half an inch so that I can see each nib without having to open the book fully. Choose how tall you want each page and slice them up accordingly.
Slide in all your nibs using the sorting system you decided on in step one and using a fine pen (I used a Micron), label the cardboard space directly below each nib.
Get some wide tape (I recommend 2" wide at least) to adhere the pages together by folding each strip in half and sticking different pages to each half. I used Scotch book tape to create the spine, and then added a longer strip of cardboard that serves as a cover to protect the nibs, and protect myself from being stabbed by the little buggers (some are really sharp!).
You can probably find some nice cloth book tape, patterned or decorative ones, and make it truly your own! I really just wanted to keep mine simple so the clear basic stuff works just fine for my needs. Also, since I plan on using this more for reference rather than simply as storage, I decided to only put one of each nib in the book, and still keep all extras in their own organized nib envelope.
My finished book measures 4" x 5" x 2" and has six pages of nibs. I'm currently just using an extra long rubber band to keep it closed, though I'm sure its easy enough to add a velcro fastener if you fancy! The inside of the cardboard cover also has a ton of space for displaying information; for example Anne's book doesn't label each nib on the page but has a reference guide on the inside cover. There are lots of ways to customize your own nib book!
If you decide to make one yourself, let me know in the comments and post a photo—I'd love to see it!


