A Fun And Functional DIY Paint Tube Organizer That Looks Great Too!

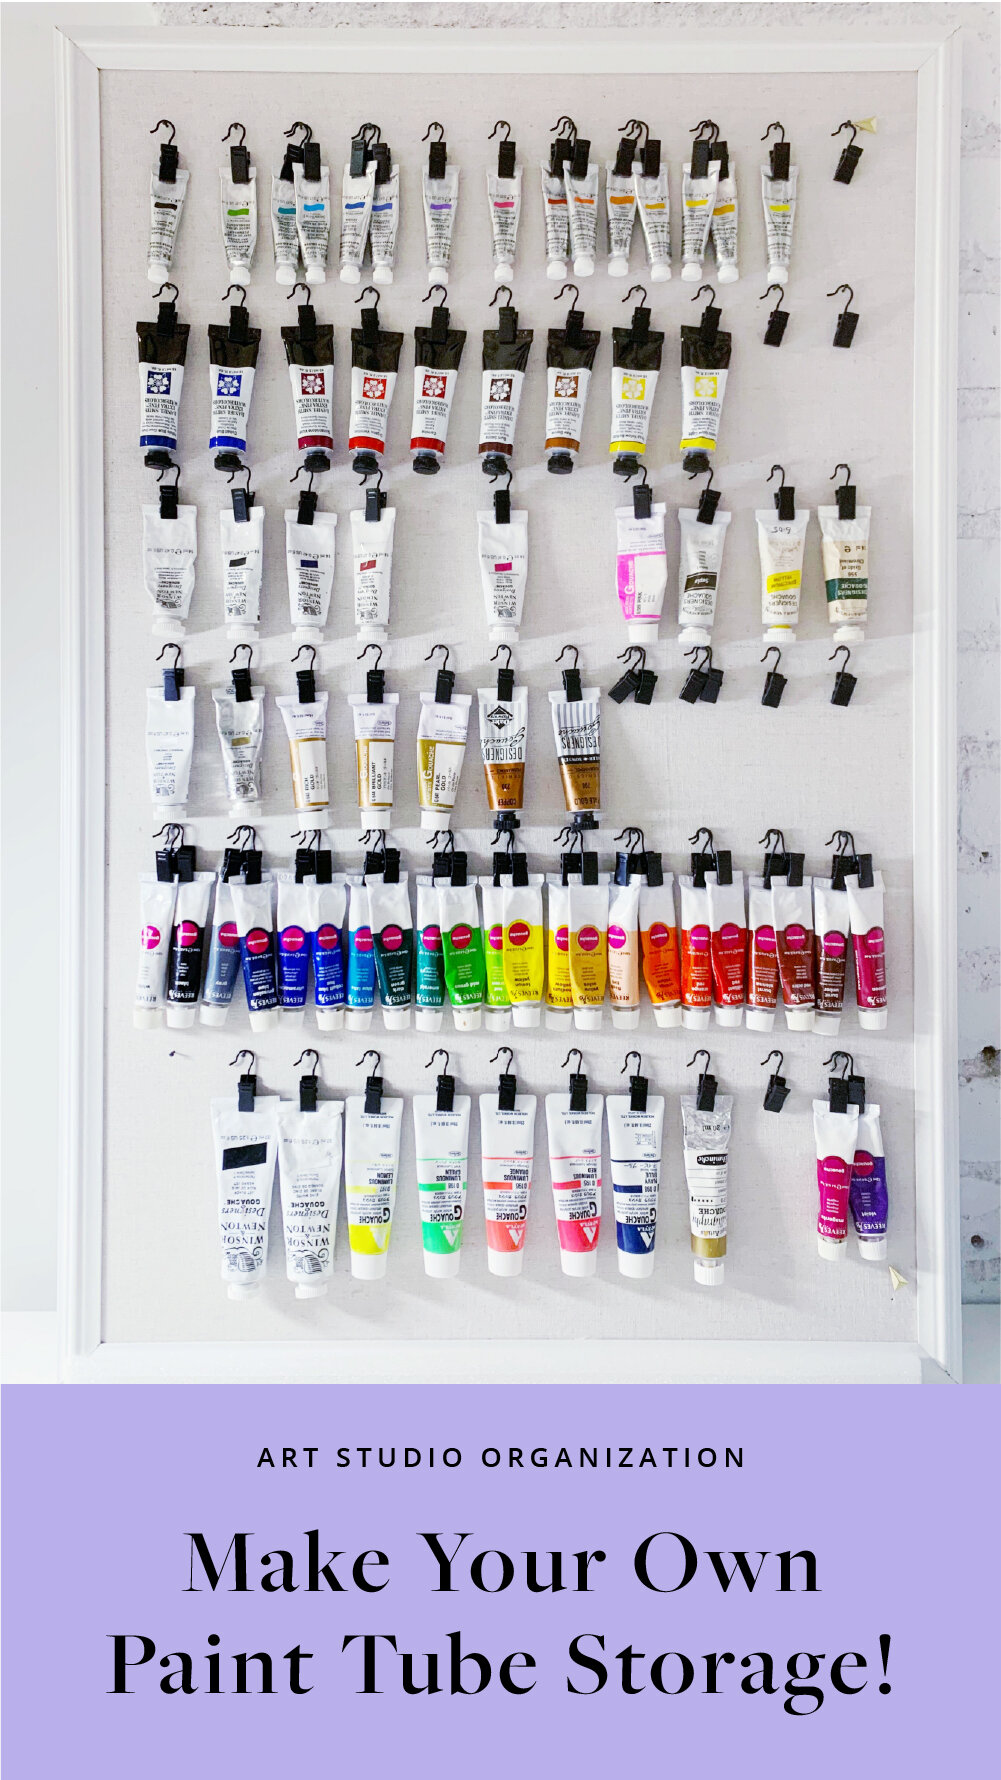
One of my favorite things about DIY projects is the opportunity to use everyday items in new ways. Recently, when I needed a better way to organize my paint tubes, I knew I needed something that was both fun to look at and practical to use. Then it hit me—a bulletin board! I had seen a lot of pictures on Pinterest of vertical storage, and this felt like a good option in my new studio space. It’s a great way to make use of empty wall space while also allowing me to see all the colors I have in a quick glance. Any time you can spare clutter and be more efficient is a win-win in my book!

Step One: The Board
I started by finding a board that would be big and sturdy—and pretty!—enough to hold all my watercolor and gouache tubes. I went with a 20”x30” bulletin board that was clean and white, with a fabric cover rather than exposed cork. If you have an old cork board lying around, repurpose it with fabric over the cork and a fresh coat of paint on the frame. Cut a piece of fabric to size and secure it using staples on the back after pulling it tight to cover the cork.

Step Two: Nails and Hooks
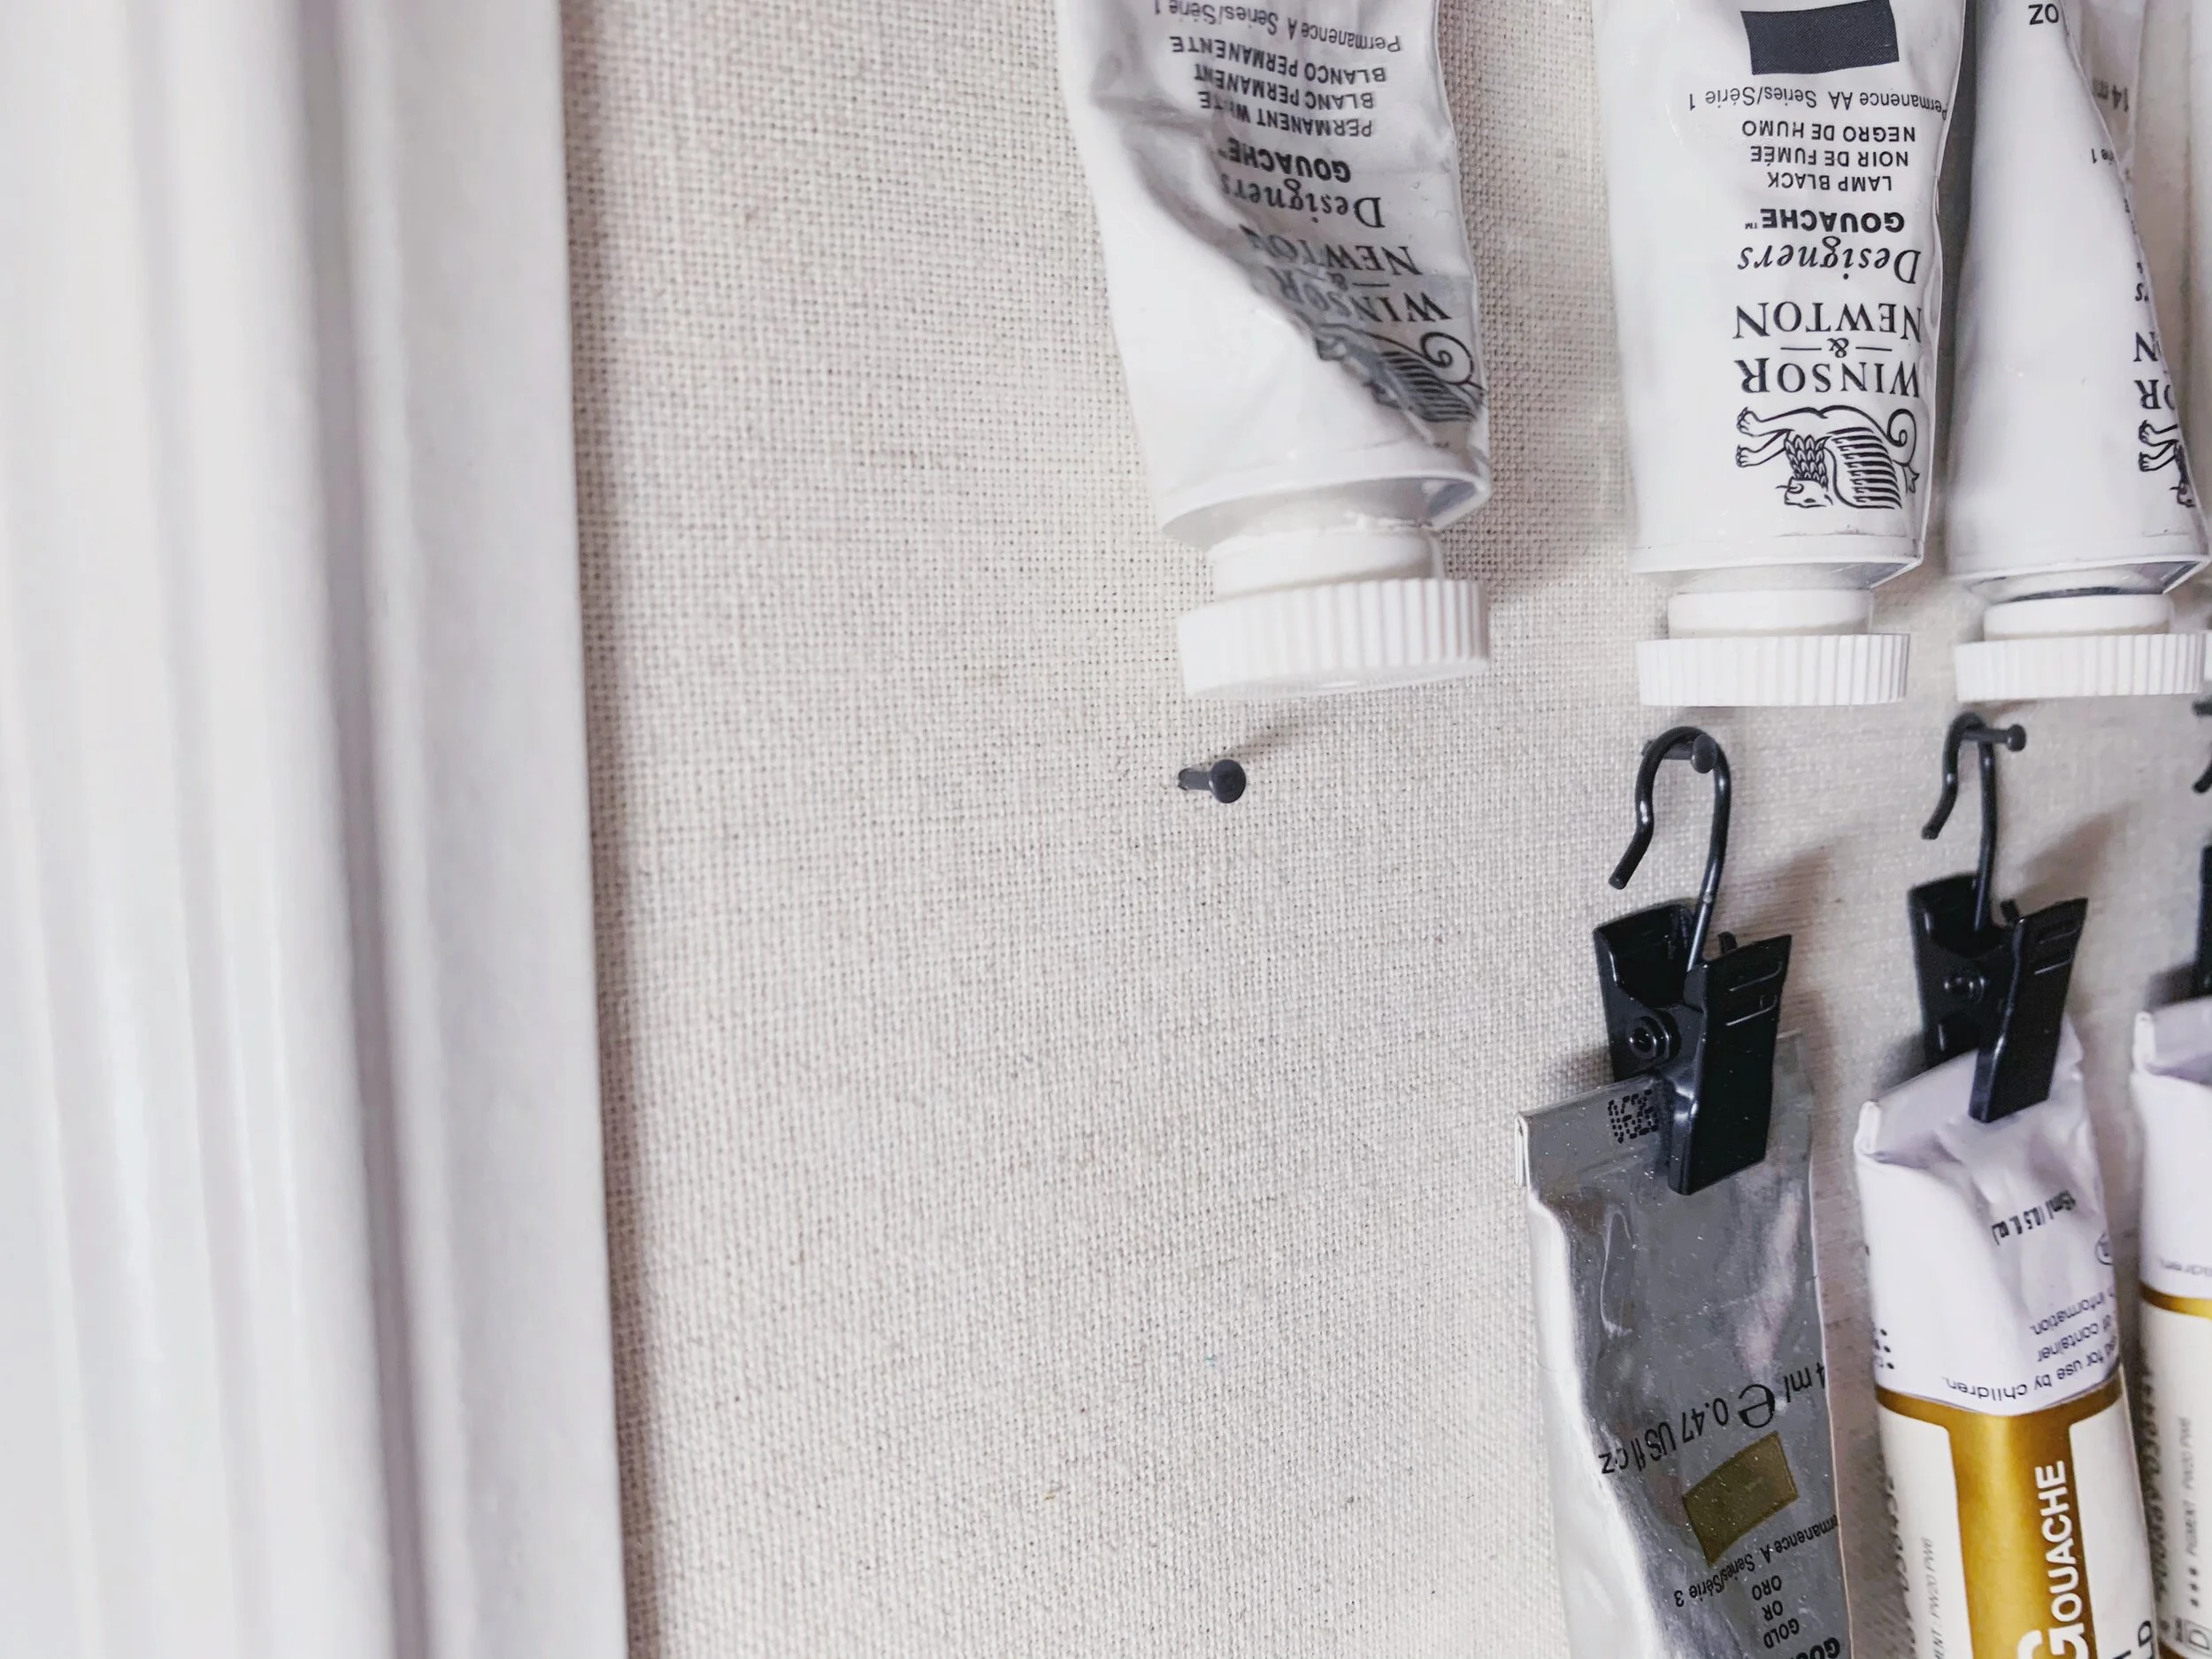
Once my board was ready, I got to work figuring out how I would hang my tubes. I went with these tiny black nails for a timeless and discreet look. It also didn’t hurt that their price didn’t make me cringe.
I estimated how many tubes could fit across the board and measured with a ruler to evenly space each nail. Then I used pencil to mark where each nail would go, ensuring each tube would have enough space to lay flat. Once the whole board was measured out, I used a mallet to tap each nail into place, deep enough to securely sit in the cork.
Then it came time for the fun part. Enter mini curtain clips. These gems are like the little black dress of DIY—have them in your arsenal because you never know when they’ll come in handy. Well, it just so happens they also make excellent paint tube hangers! I clipped each one to a tube, assigned them to a nail and, voila! Another successful project in the books!
I ended up needing to twist the clip hooks 90 degrees so that the tubes would lay flat, but that was super easy. I organized the tubes by type, brand and then by color to make it a little prettier and organized! I originally wanted to hang the frame on the wall but for now I have it propped up on my table which allows for a little flexibility.
It’s strangely satisfying to see it in my studio every day!
Liked this? Subscribe to my newsletter below for more creative inspiration!